Introduction
Welcome to the guide on how to clean headphone pads for 2024. Keeping your headphones in top shape is not just about maintaining sound quality, but also about ensuring they last longer and continue to provide comfort. In this series of steps, learn the reasons why it’s crucial to regularly clean your headphones and follow an easy, step-by-step guide to keep both over-ear headphone pads and earbuds fresh and hygienic. By the end of this guide, you’ll know exactly what materials you need and the best methods to care for your headphone pads, as well as how to tackle deeper cleaning issues safely.
Importance of Regular Headphone Cleaning
Keeping your clean headphone pads is crucial for several reasons. It not only extends their lifespan but also ensures they provide the best sound quality and comfort. Regular cleaning prevents the buildup of sweat, oils, and dirt, which can degrade the materials of your headphones and lead to discomfort during use.
Firstly, cleaning your headphones can save you money in the long run. By maintaining the condition of your headphone pads, you avoid the need for frequent replacements, thereby protecting your investment. Secondly, headphones that are well-maintained offer consistent comfort. Dirt and oils can make the pads hard and less compliant, which reduces comfort.
Moreover, hygiene is a significant factor. Headphones, particularly those used frequently, can harbor bacteria and lead to skin irritations or infections. A regular cleaning schedule ensures that your headphones remain hygienic and safe to use every day.
In summary, the importance of cleaning your headphones regularly cannot be overstated. It is an easy task that can prolong the life of your headphones, improve comfort, and enhance hygiene. Simple preventive maintenance like regular cleaning can make a significant difference in the longevity and performance of your headphones.

Materials Required for Cleaning Headphones
To effectively clean your headphones and ensure they are kept in pristine condition, you will need some specific items. Gathering these materials beforehand simplifies the cleaning process and protects the intricate components of your headphones. Here’s what you’ll require:
- Soft, lint-free cloth: Ideal for wiping down headphone surfaces without leaving residue.
- Microfiber cloth: This gentle fabric is perfect for cleaning without scratching the headphone pads.
- Soapy water: A simple mixture of mild soap and warm water for dampening cloths. Ensure the water isn’t too hot.
- Leather conditioner (if applicable): If your headphone pads are covered in protein leather, a suitable leather conditioner is necessary.
- Cotton swabs: These are handy for cleaning nooks and crevices, especially around earbuds.
- Rubbing alcohol: Use this for disinfecting and removing stubborn grime. (Note: be cautious with alcohol on leather surfaces).
- Toothbrush (soft-bristled): Good for gently scrubbing away accumulated dirt.
- Replacement pads: Keep a set handy in case the old ones are worn out.
Remember, the key is to use these materials gently to avoid damaging your headphones. Each item plays a crucial role in maintaining the cleanliness and functionality of your headphone pads.
Step-by-Step Guide to Cleaning Over-Ear Headphone Pads
Step 1: Immediate Wipe Downs
After using your headphones, act fast; wipe the pads with a dry cloth. A microfiber cloth is best for this, as it picks up oils and sweat without scratching. This step prevents dirt from settling in.
Step 2: Weekly Cleanings
Do a thorough cleaning weekly. You’ll need a soft cloth slightly damp with soapy water. Wipe your pads delicately, without soaking them. Leave them out to air dry before using them again.
Step 3: Conditioning Leather Pads
For protein leather pads, condition sparingly—no more than twice a year. Use tiny amounts of leather conditioner, applying it gently with a soft cloth. Let them fully absorb and dry.
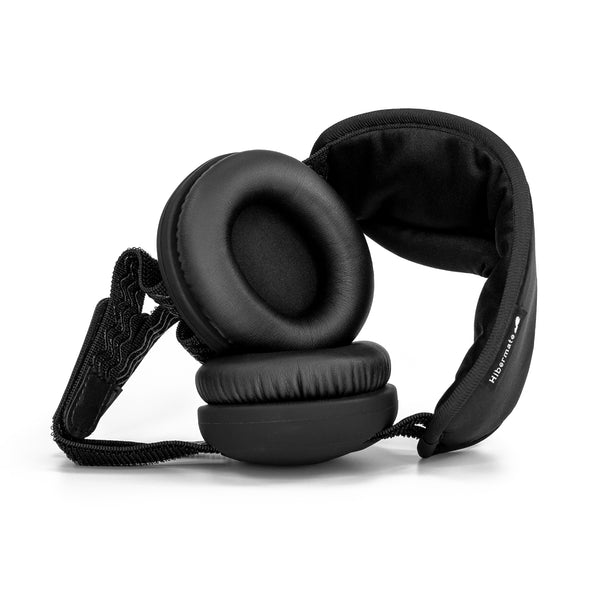
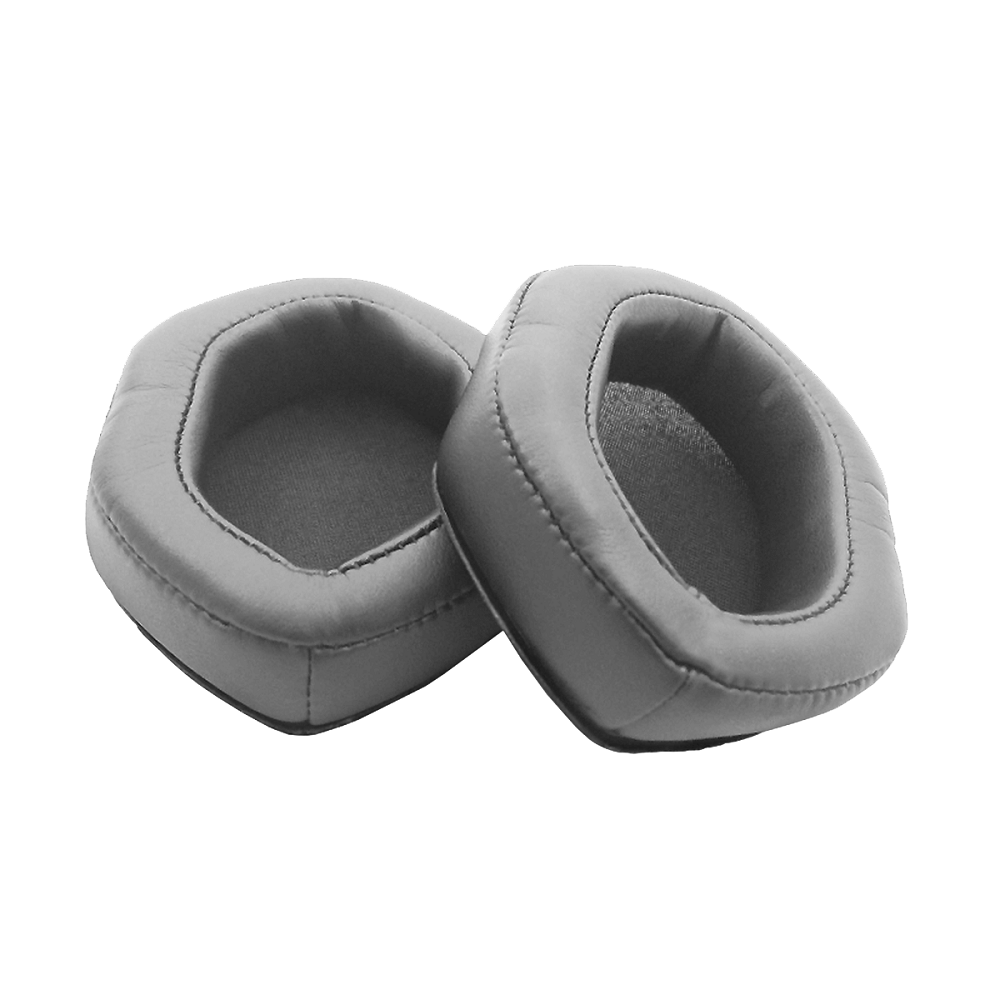
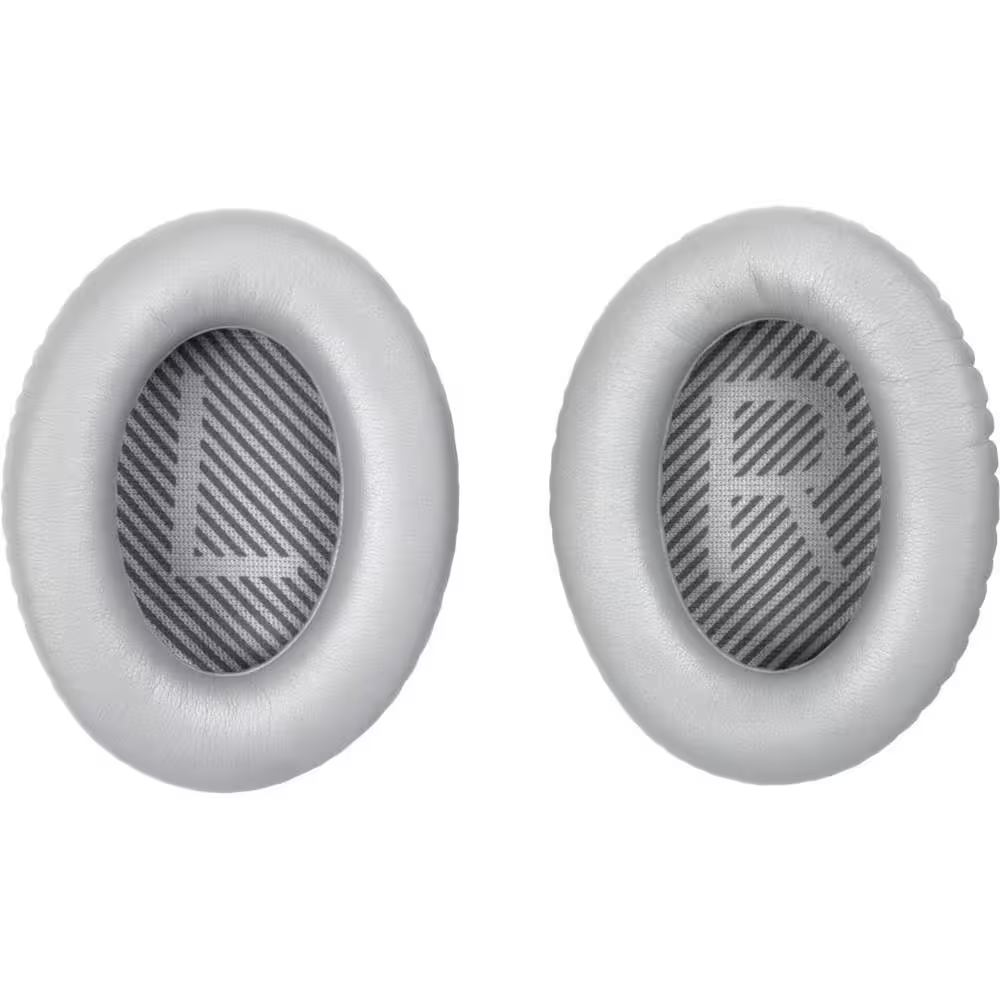
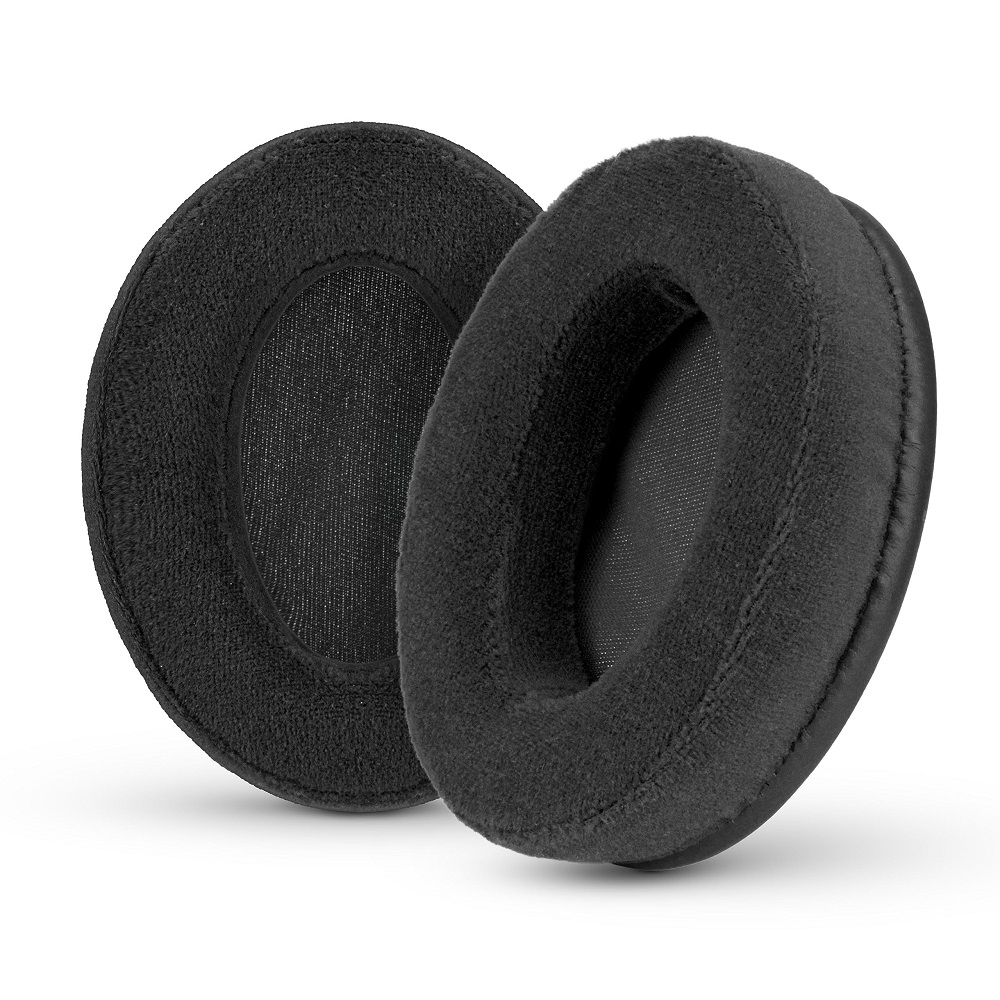
Step 4: Replacing Headphone Pads
Over time, pads wear out. When they do, replace them. It’s affordable and easy, making your headphones feel like new again.

How to Clean Earbuds for Optimal Hygiene
Keeping earbuds clean is crucial for both sound quality and ear health. Accumulated dirt and earwax can muffle sound and potentially cause ear infections. It’s important to adopt a routine that keeps your earbuds as fresh as possible. Here’s your straightforward guide on maintaining optimal hygiene for your earbuds with minimal effort.
Step 1: Storing Earbuds Properly
Proper storage is key to keeping your earbuds clean. Always store them in a dedicated case. This prevents exposure to dirt and minimizes the accumulation of bacteria. A case also helps avoid physical damage from impacts or crushing in a bag.
Step 2: Daily Cleaning Routine
To ensure your earbuds remain spotless, incorporate a daily cleaning routine. At the end of each day, take a few minutes to wipe them down. Use a soft, lint-free cloth slightly dampened with soapy water. Be careful not to allow any liquid to seep into the earbuds. Dry them thoroughly with a dry part of the cloth before placing them back in their case.
Step 3: Deeper Cleaning with Peroxide
Once a week, give your earbuds a deeper clean to tackle any stubborn wax or buildup. Use a diluted solution of hydrogen peroxide. Dampen a soft cloth with the solution and gently clean the earbuds. Ensure the solution is weak to avoid any potential damage. Let them dry completely before the next use. This routine helps maintain hygiene and extends the lifespan of your earbuds.
Maintaining True Wireless Earbuds and Charging Case
Taking good care of your true wireless earbuds and their charging case is essential for their longevity and performance. Here are some straightforward steps to ensure that both your earbuds and their case stay clean and fully functional.
Step 1: External Cleaning of the Case
Start by wiping the external surface of the charging case. Use a lint-free cloth dampened slightly with alcohol. Gently rub all external areas of the case. This removes dirt and keeps the case looking new. Ensure the cloth is not too wet to prevent any moisture from entering the case.
Step 2: Cleaning the Charging Pins
The charging pins are crucial for ensuring your earbuds charge correctly. First, power off the case if possible. Use a dry cotton swab to gently brush any visible dirt or debris off the charging pins. For more stubborn grime, lightly dampen another swab with alcohol and carefully clean the pins. Be cautious not to apply too much pressure that might damage the pins.

Protecting Your Headphones? Longevity
Ensuring the longevity of your headphones involves regular maintenance.
Dusting the Speaker Mesh and Drivers
Frequent use can lead to dust accumulation on the speaker mesh and drivers. This can affect sound quality. To clean, use a soft-bristled toothbrush or a dry, soft paintbrush. Gently brush away the dust from the speaker mesh. For the drivers, use a dry, soft cloth. Hold the headphones so the driver faces down. This prevents dust from entering deeper parts.
Cleaning the Headphone Jack
The headphone jack is also prone to dust and lint which can affect connectivity. Use a can of compressed air to clean out the jack. Aim the nozzle at the jack and give a few quick bursts. This should remove most of the debris. For stubborn dirt, try using a toothpick with care. Don’t insert it too deeply to avoid damage.
Conclusion
You now know how to clean headphone pads effectively. Regular care ensures longer use and better performance. Remember, simple steps like wiping, weekly cleaning, and proper storage can make a big difference. Make these practices a regular part of your routine to keep your headphones in top condition. This will enhance sound quality, increase comfort, and reduce health risks. Armed with these easy-to-follow instructions, you are all set to enjoy a superior listening experience with clean, well-maintained headphones.
