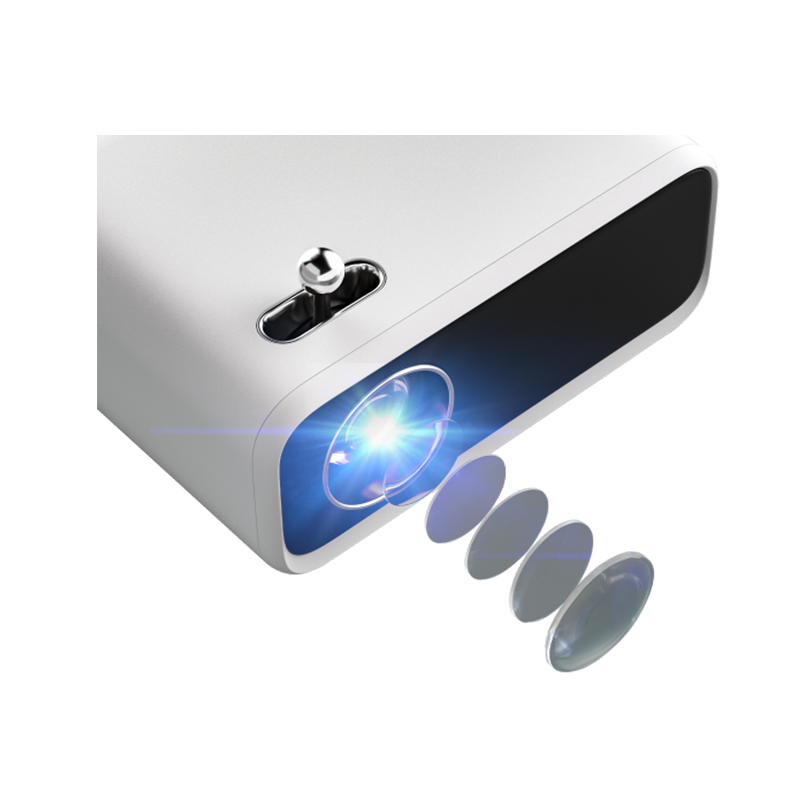
Setting up a mini projector can be an exciting way to enjoy movies, presentations, or gaming on a larger scale. Unlike traditional projectors that require extensive installation and setup, mini projectors offer a more flexible and portable option. However, to achieve that ideal viewing experience, understanding the setup process is crucial. This article will guide you through every step, from making the right connections to adjusting screen size and achieving optimal image quality.
Choosing the Right Location
Assessing Your Space
Before you even unpack your mini projector, take a moment to assess where you plan to set it up. The location can significantly affect the overall viewing experience. Consider the lighting conditions in the space. Darker areas generally work best, as they allow for richer colors and sharper images. If you’re planning an outdoor movie night, think about the time of day as well; dusk or evening is preferable.
Evaluate the available wall or screen space. Ensure the area is free from obstructions, as obstacles can block the projector’s view and diminish image quality. Additionally, think about seating arrangements. Ideally, you want viewers to sit at a comfortable distance from the screen while still having a good angle of view. Balancing these factors will help you create an optimal setup for your mini projector.
Distance Considerations
The distance between the projector and the screen significantly impacts the image size and clarity. Mini projectors come with different throw ratios, meaning they project images over varying distances. Take note of the projector’s specifications, and check the recommended distance for the desired image size.
To calculate the ideal distance, measure from where you plan to place the projector to the wall or screen you’ll be using. Most mini projectors can project images between 30 to 120 inches diagonally, depending on the distance. Reading the user manual can provide useful information about your specific model, ensuring you set it up properly.
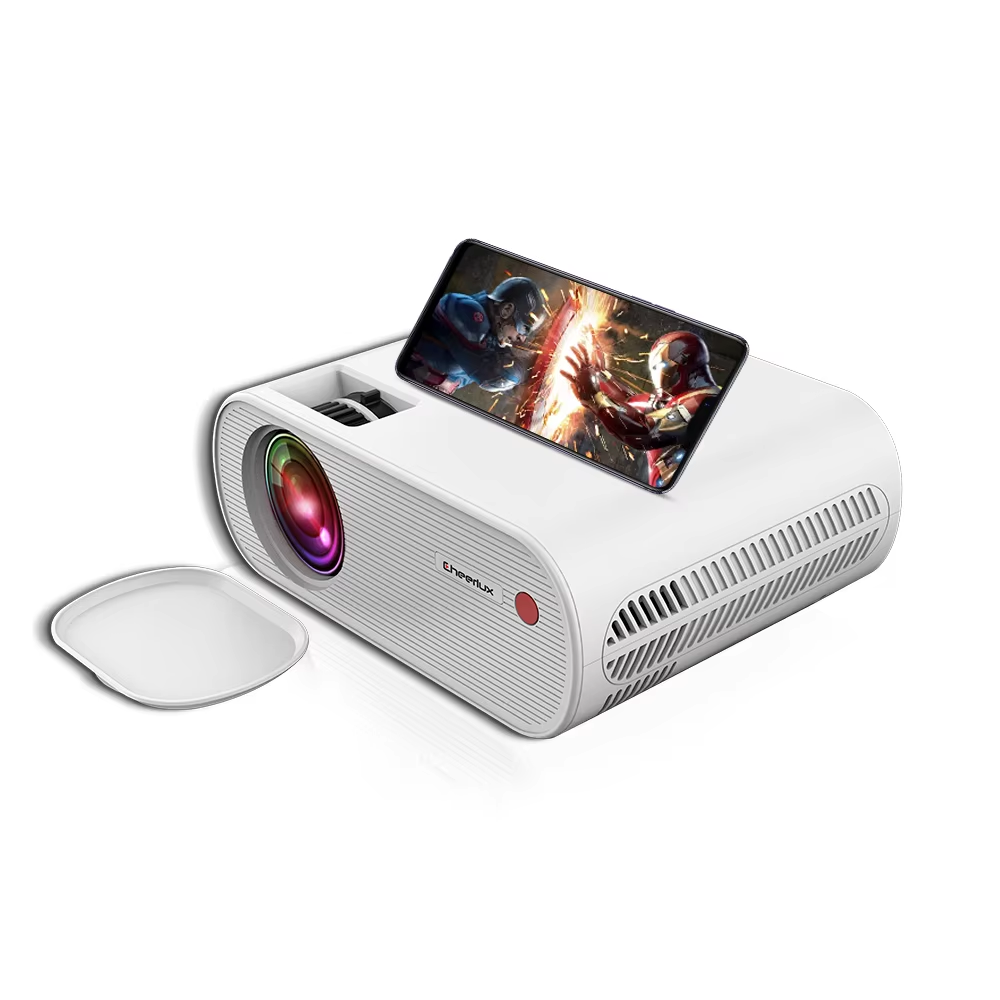
Making Connections
Connecting Power Supply
Once you’ve selected the ideal location, it’s time to set up the power supply. Most mini projectors come with an AC power adapter. Position your projector near a power outlet, and plug it in. Some models feature built-in batteries, allowing for portable use without relying on a power source. If you have a battery-powered projector, make sure it’s charged before beginning your setup.
Connecting Video and Audio Sources
Next, you need to connect your projector to a video source. Many mini projectors will be compatible with various devices, including laptops, gaming consoles, and streaming devices. Common connection types include:
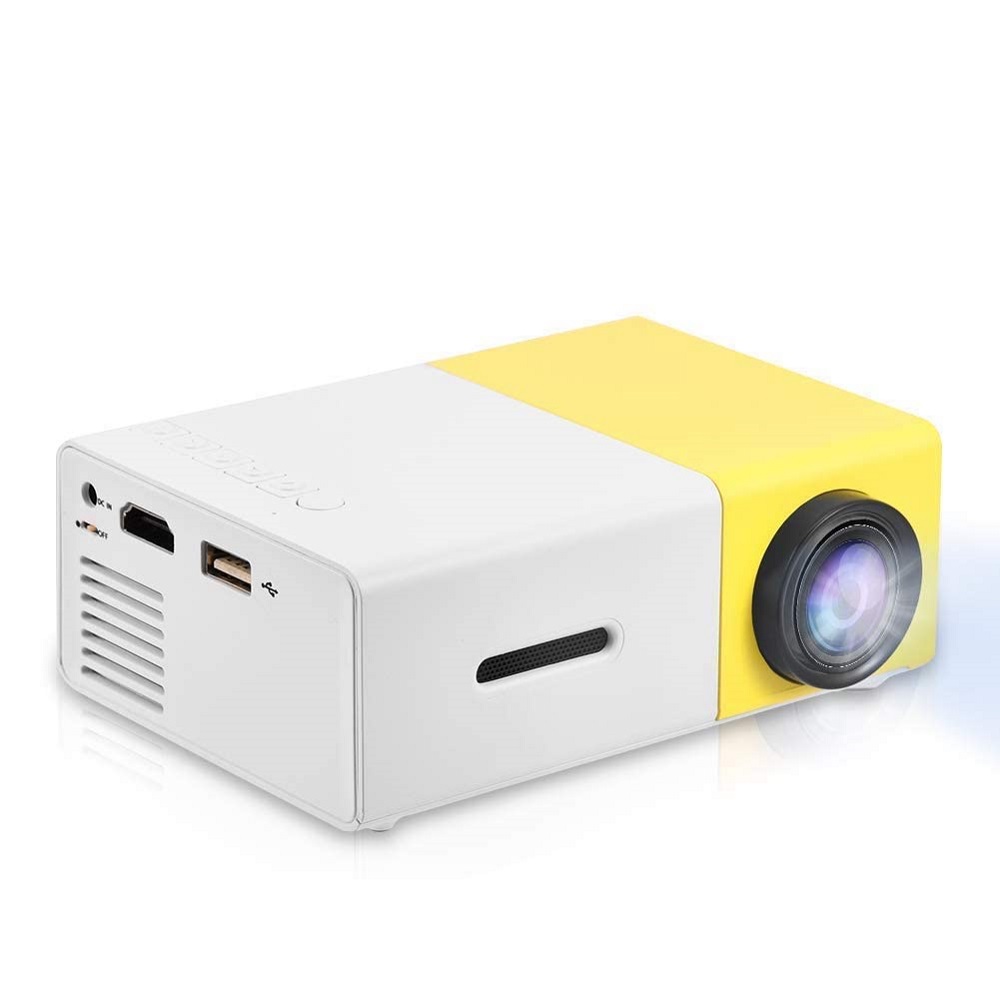
- HDMI: This is the most common and preferred connection method as it transmits both audio and video signals in high quality. Most modern devices—such as laptops, gaming consoles, and Blu-ray players—come equipped with HDMI ports.
- USB Ports: Many mini projectors include USB ports that allow you to connect flash drives directly. This is helpful for displaying presentations or media without needing an extra device.
- VGA: While less common nowadays, VGA connections are still useful for older laptops. If you have an older device, check whether it has a VGA port and whether the projector supports it.
Wireless Connectivity Options
If you prefer a cable-free connection, many modern mini projectors offer wireless options. These projectors use Wi-Fi or Bluetooth to stream content directly from your device. Check for these features during your setup process.
For Wi-Fi connectivity, ensure your projector and streaming device are connected to the same network. Follow the user manual instructions to establish the connection. If using Bluetooth, enable Bluetooth on your device and pair it with the projector. Wireless connectivity adds convenience, allowing for a more streamlined setup.
Initial Projector Settings
Booting Up the Projector
With all your connections in place, power on your mini projector. It might take a few moments to boot up, and you should see the manufacturer’s logo while it starts. During the startup phase, make sure to check the lens for any obstructions or dust that might affect the image quality.
Accessing Menu Settings
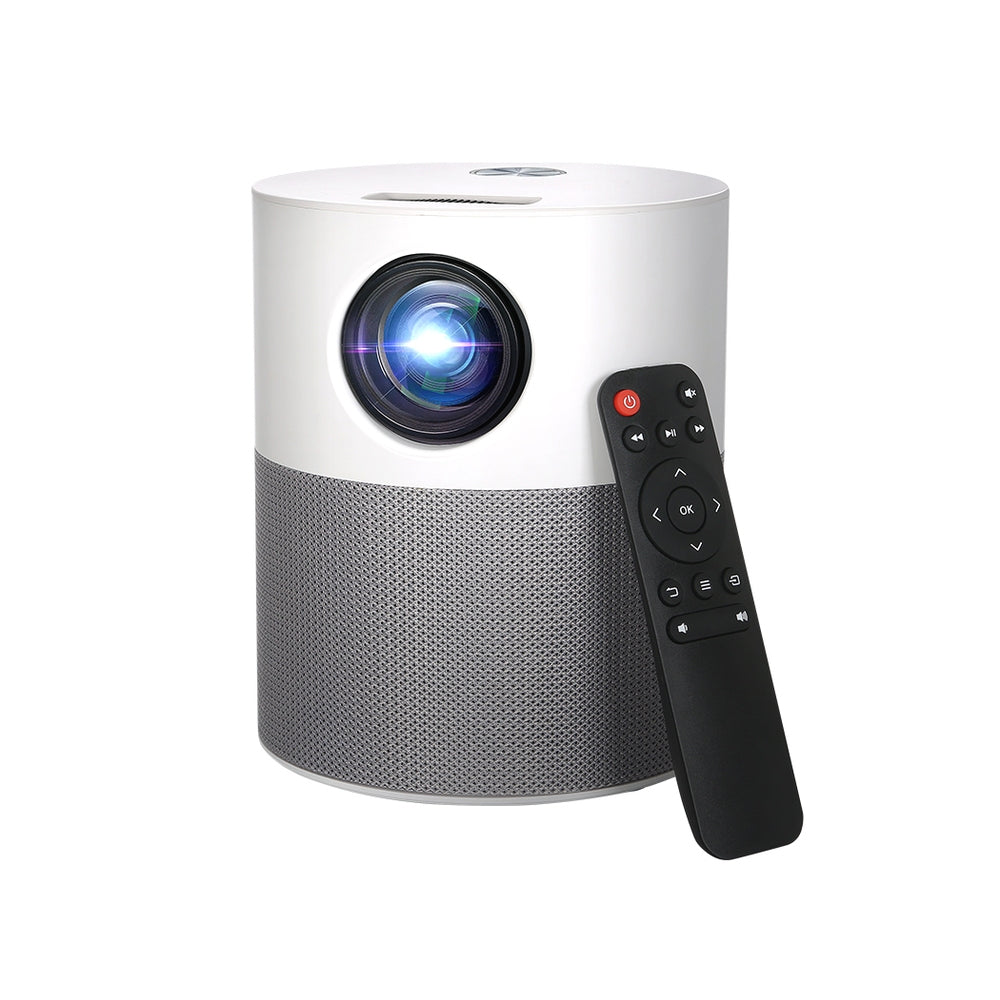
Once the projector is on, access the settings menu. Most mini projectors come equipped with an easy-to-use interface that allows for adjustments. Use the remote control or buttons on the device to navigate through the options. You’ll typically find settings related to input selection, brightness, contrast, and keystone adjustments.
Familiarizing yourself with the menu settings can enhance your viewing experience. For example, if the projector offers preset modes such as “Movie,” “Presentation,” or “Game,” you can switch based on your intended use. Using the appropriate mode optimizes brightness and color settings, tailoring the image to suit your needs.
Adjusting Image Quality
Focusing the Projection
The next step in setting up your mini projector involves achieving the best image focus. Position your projector at the desired distance from the wall or screen and use the focus wheel or button to sharpen the image. Depending on the model, you may find a manual focus ring or an auto-focus feature.
Take a moment to adjust the focus until the image is clear and crisp. If you notice blurriness, double-check the distance to see if minor adjustments to the placement are necessary. Getting the focus right is crucial, as a clear image enhances details and overall enjoyment.
Keystone Correction
Sometimes, your projector image might appear distorted or trapezoidal, particularly if it’s not perfectly aligned with the screen. Many mini projectors have a keystone correction feature that allows you to adjust the image shape. You can access this feature through the settings menu and adjust it until the image appears rectangular.
Keystone correction is essential, especially if you’re setting up the projector at an angle. This adjustment ensures you can achieve an even and centered image, enhancing the viewing experience for everyone.
Selecting Screen Size
Choosing Screen Type
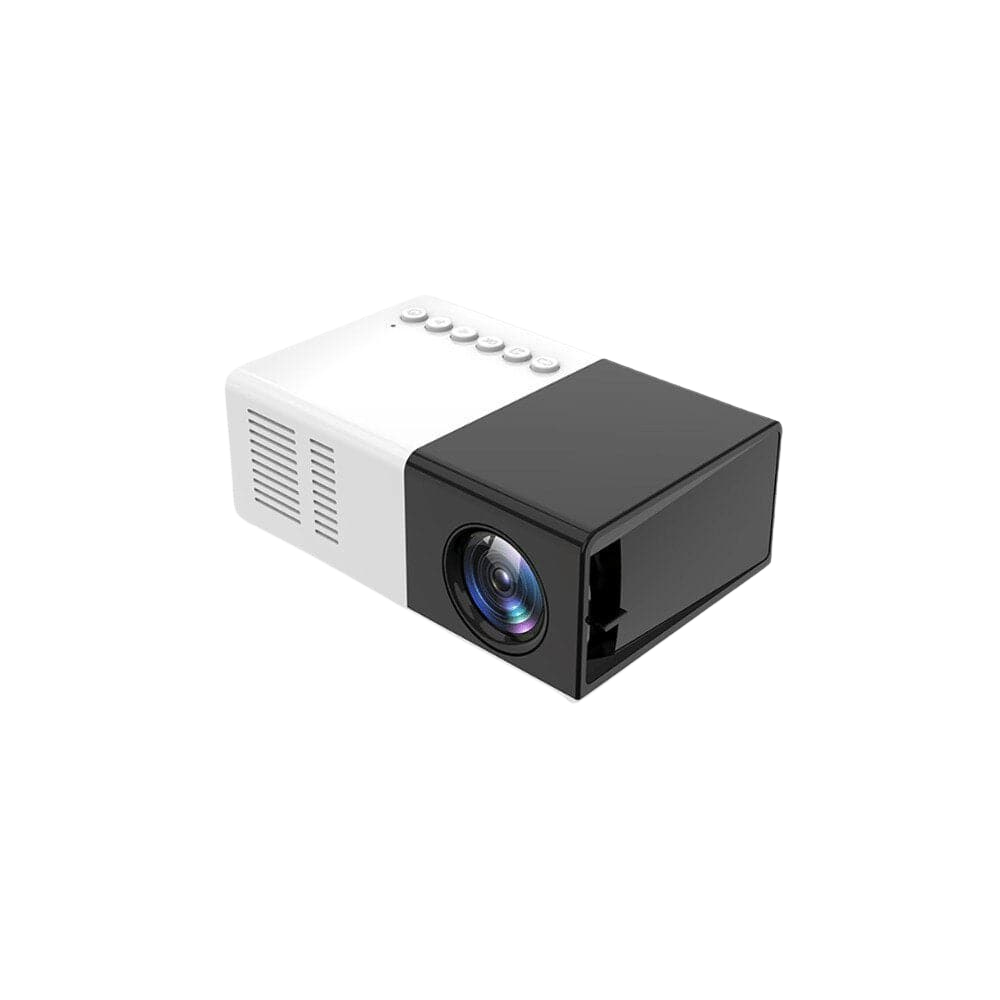
Selecting the right screen size for your mini projector is essential to optimizing your viewing experience. Depending on your preferences and space, you can opt for various screen types:
- Portable Projector Screens: These are often foldable and easy to set up. They can provide a smooth surface for projection and are available in different sizes depending on your needs.
- Wall Projection: If you plan on using your mini projector for a longer period, you can project directly onto a blank wall. Just make sure the wall is smooth and neutral-colored for the best results.
- Inflatable Screens: For outdoor movie nights, inflatable screens are a fun option. They provide a large surface area and set up relatively easily.
Setting the Screen Size
The screen size you choose should correspond to the projector’s capabilities and the distance between it and the screen itself. Mini projectors typically provide a recommended screen size based on the distance from which they project.
- Calculate Image Size: A good rule of thumb is to position the projector at a distance that allows for a screen size of about one-fourth the distance away. For example, if the projector is 10 feet away, the screen size can be approximately 100 inches diagonal.
- Adjusting for Room Size: Additionally, consider the space where you conduct your projections. Ensure that the size of the projected image fits comfortably within the area while allowing the audience to view it without strain.
Optimizing Audio
Checking Built-in Audio
If your mini projector has built-in speakers, you’ll want to check their quality before starting. Built-in audio may be sufficient for casual use, but often lacks the depth and fidelity you may desire for movies or gaming. Start by playing a video or audio content to gauge the sound quality.
Connecting External Speakers
For a richer audio experience, consider connecting the projector to external speakers. You can do this via HDMI, Bluetooth, or audio cables. Surround sound speakers can create an immersive experience, especially for games with dynamic soundscapes.
- Wireless Speakers: If you choose Bluetooth speakers, ensure they connect seamlessly to the projector for wireless audio. This connection reduces cable clutter and allows for greater speaker placement flexibility.
- Soundbars: These are also excellent options for enhancing audio quality. A soundbar can significantly enhance your audio experience without needing a comprehensive home theater system, making it an ideal choice for casual gamers or movie enthusiasts.
Calibration for Perfect Experience
Final Adjustments
Once everything is connected and the image is projected, it’s time to make final adjustments. Check the brightness, contrast, saturation, and sharpness settings, adjusting them to your liking. Many projectors will have presets for different uses, but you might find that making manual adjustments can drastically improve your experience.
Testing the Setup
Before diving into your gaming marathon or movie night, test your setup. Watch a short clip or play a game that you’re familiar with. Pay attention to both visual and audio quality. Ensure that colors appear accurate and that sound levels are balanced. This test lets you catch any issues before your main event, allowing you to make adjustments on the fly.
Save Your Settings
After making all the adjustments, take note of your settings. If your projector allows, save the configurations to ensure you don’t need to go through the setup process again during your next use. Additionally, consider documenting the placements and distances. This simple act can save time during future setups, providing you with a quick reference for your ideal configurations.
Conclusion
Setting up a mini projector can be both simple and rewarding, turning any space into a cinema-like experience. From understanding the importance of location and connection options to optimizing the image and audio, each step is crucial for achieving the best results.
By following this guide, you can ensure a hassle-free setup process, allowing you to focus on what truly matters: enjoying your movies, presentations, or gaming sessions. The next time you reach for that projector, you’ll be fully equipped with the knowledge you need to transform your viewing experience from ordinary to extraordinary! Whether it’s a cozy movie night with friends or an intense session of gaming, your mini projector can deliver memorable entertainment, all thanks to a well-executed setup.
