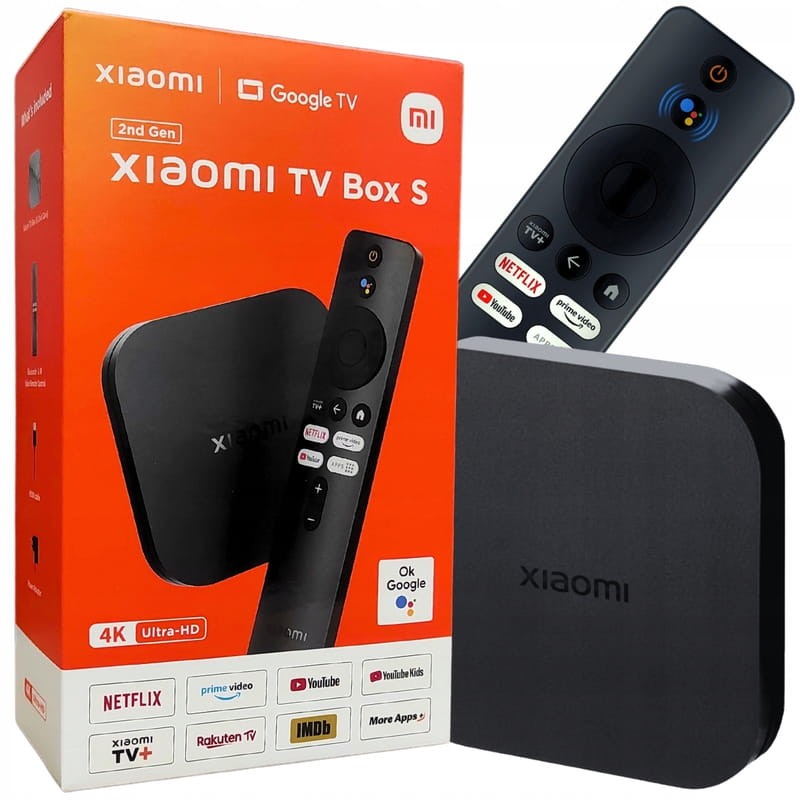
The rising popularity of streaming services has led to an increase in the use of TV boxes. These devices allow users to access a wide variety of online content on their televisions. Whether you have a Roku, Amazon Fire TV, or Apple TV, setting up your TV box can be a straightforward process. This guide will walk you through the necessary steps to get your TV box up and running smoothly, ensuring you can enjoy your favorite shows and movies in no time.
What You Will Need
Before you begin, ensure you have all the necessary items. Gathering everything ahead of time will streamline the setup process. Getting organized can make a significant difference, especially if you are new to using these devices.
Required Equipment
Here’s a list of items you will need for your TV box setup:
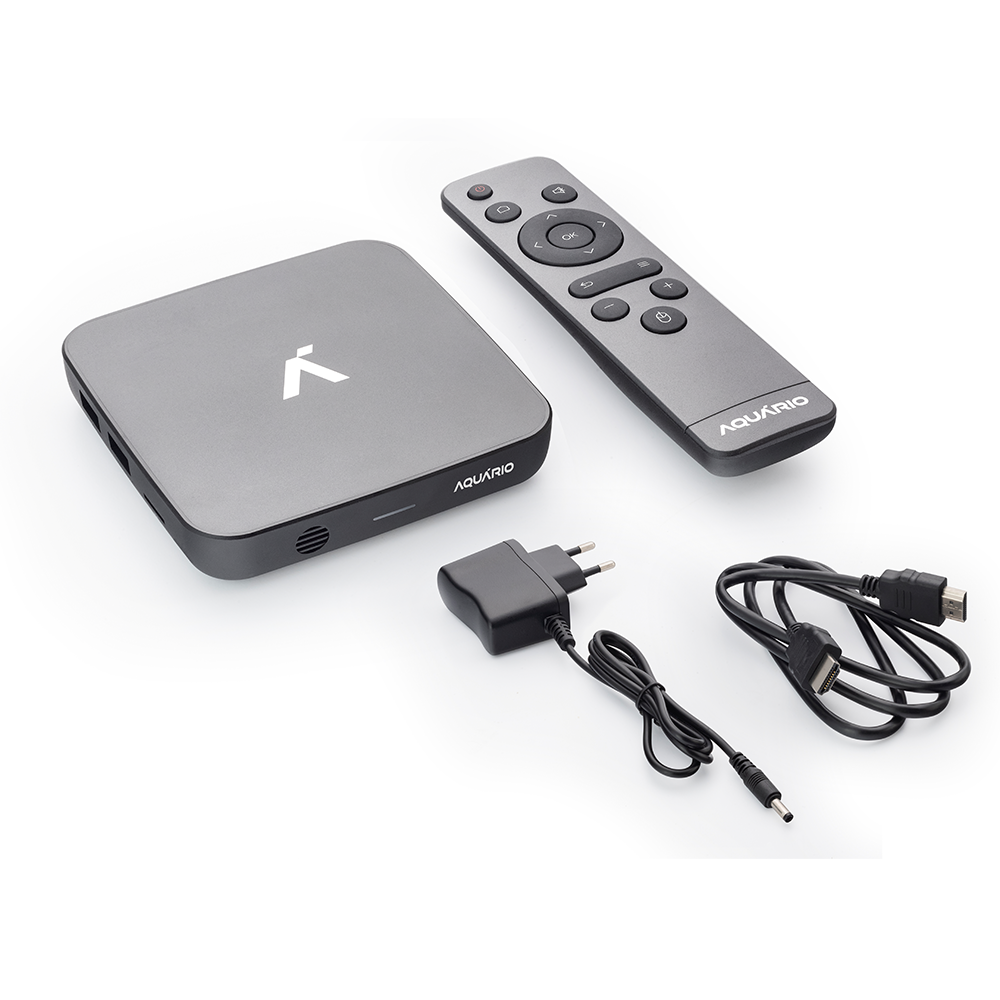
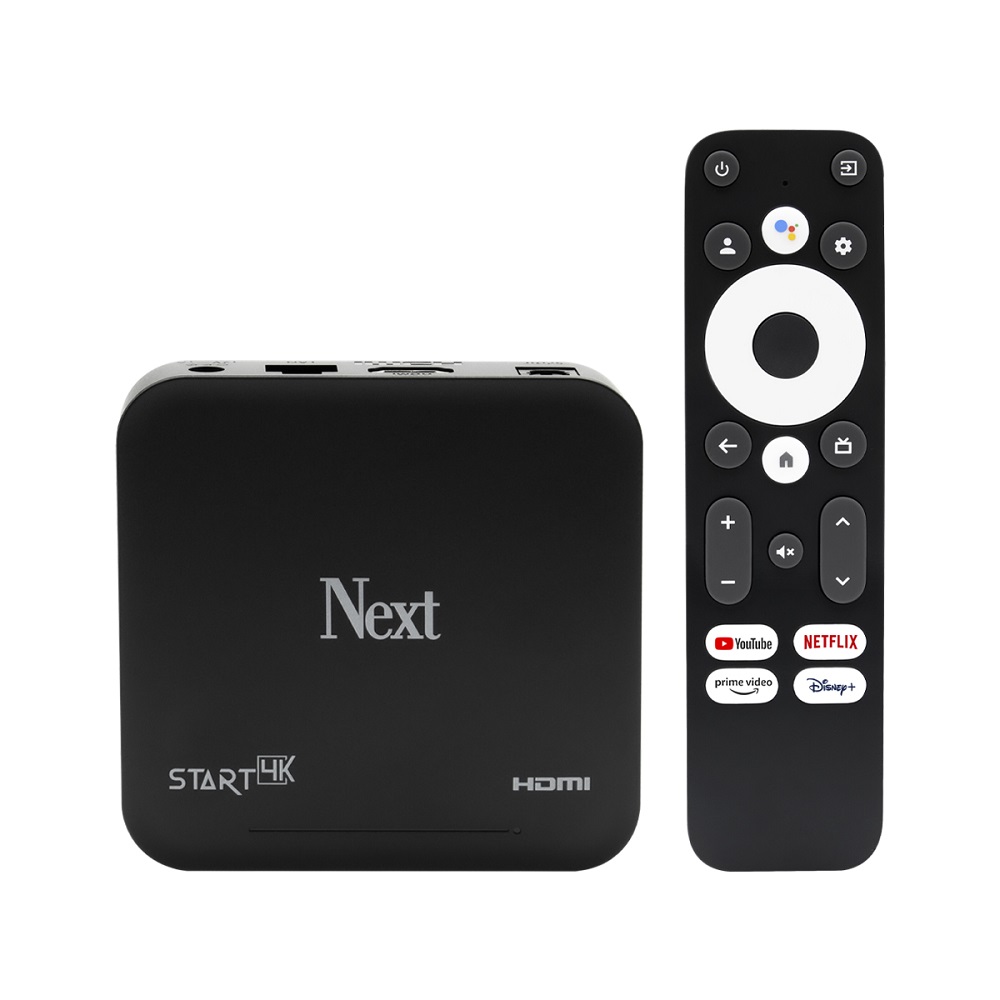
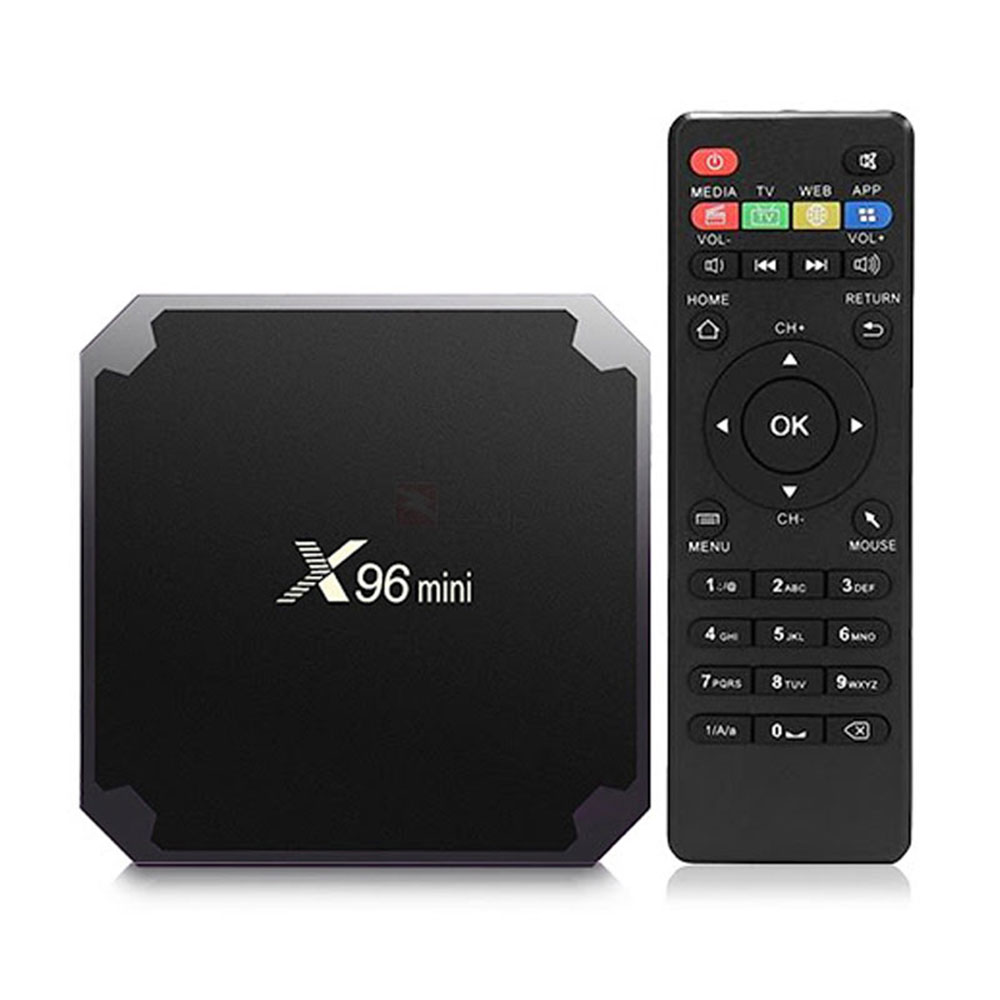
- TV Box: This is the primary device you will set up. Popular options include Roku, Amazon Fire Stick, and Apple TV. Each brand offers its own unique features and apps, which can affect your viewing experience.
- HDMI Cable: Most TV boxes come with an HDMI cable included. It’s used to connect the box to your TV. If yours doesn’t have one, you’ll need to purchase a suitable cable separately.
- Power Adapter: This will be provided with the TV box to connect it to a power source. Ensure that you have the correct voltage to prevent damage to the device.
- Remote Control: Your TV box will typically include a remote for navigation. Keep batteries handy, as they may not always come included.
- Internet Connection: A strong Wi-Fi connection is essential for streaming content. Consider your internet speed, as slow connections can lead to buffering and interruptions.
- Television: A modern TV that has an HDMI input. Most current TVs support HDMI, but if you have an older model, check if you can get an adapter.
Having these items ready will ensure you can complete the setup without any interruptions. This preparation will also help you avoid frustration during the installation process.
Finding the Right Location
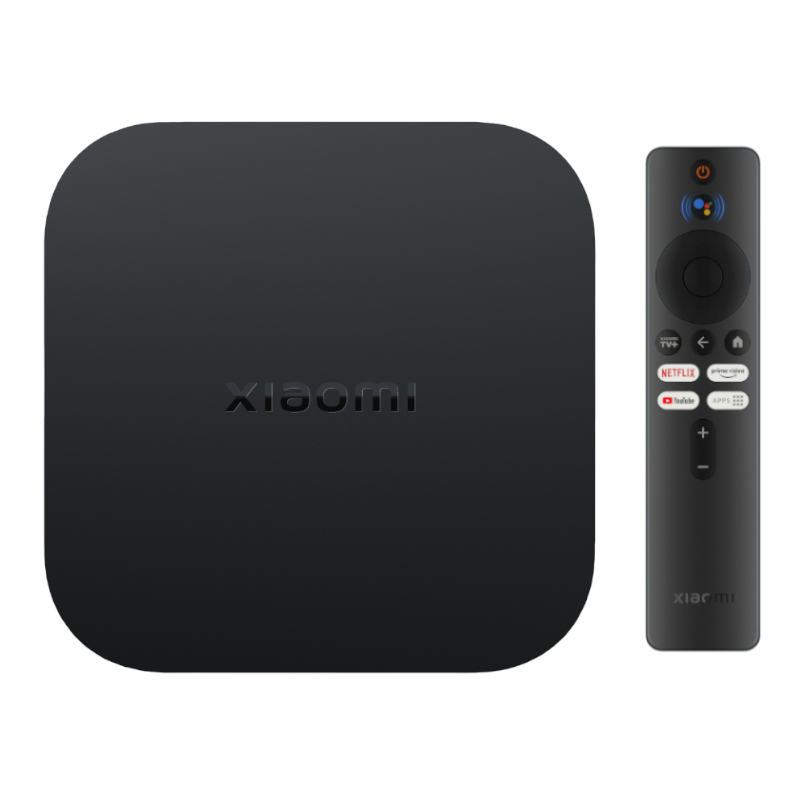
Choose an appropriate location for your TV box. Ideally, it should be near both a power outlet and the TV. Make sure the area can accommodate the box without it getting crowded or blocked. This precaution helps with ventilation and ensures that the remote control can work efficiently.
Ensure there is good ventilation around the box to prevent overheating. Avoid placing it in closed cabinets or near devices that generate heat. Poor ventilation can lead to performance issues, so it’s important to create a setup that allows airflow. Lastly, consider the visibility of the box; it should be positioned so that the remote can easily communicate with it.
Step 1: Connect the TV Box to Your TV
The first step in the setup process is to connect the TV box to your television. This is a simple yet crucial part of the setup. Taking your time during this step will prevent complications later.
Locate the HDMI Input
Check the back or sides of your television for HDMI ports. Most TVs have multiple HDMI inputs, often labeled HDMI 1, HDMI 2, and so on. Choose an available HDMI input for your TV box. Make a note of which input you select, as you’ll need to remember it when switching between sources.
Use the HDMI Cable
Plug one end of the HDMI cable into the HDMI port on your TV box. Take the other end and connect it to the chosen HDMI port on your TV. Ensure that both connections are secure to avoid any issues later. It’s good practice to check that the cable is firmly plugged in, as loose connections can lead to signal loss.
After connecting the cable, it may help to organize the cables for a cleaner look. You could use cable ties or clips to keep everything tidy, preventing tangling. Once connected, your TV box is ready to be powered on, and you can move on to the next steps in the setup process.
Step 2: Power Up the TV Box
After connecting the HDMI cable, the next step is to power up your TV box. This step usually follows the physical connections you’ve just made.
Connect the Power Adapter
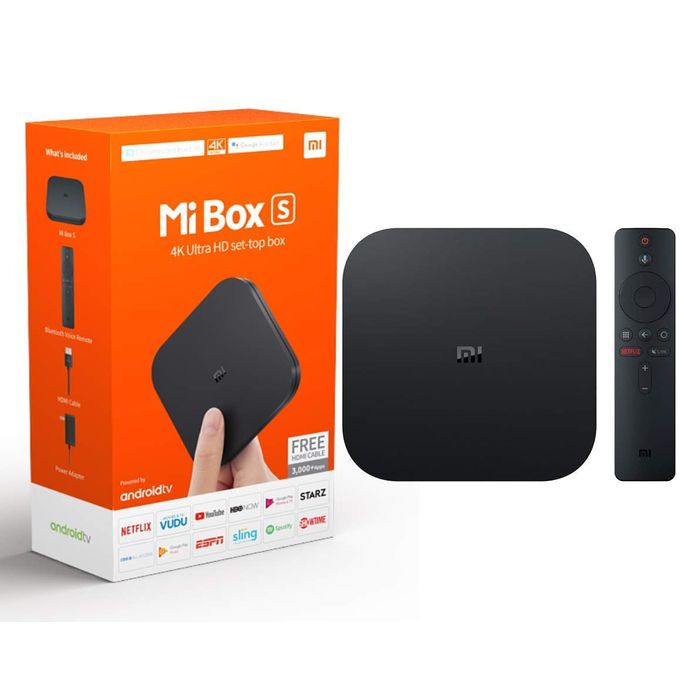
Find the power adapter that came with your TV box. Plug one end into the power port of the TV box. Then, connect the other end to a power outlet. Some devices have a power button, while others may turn on automatically once plugged in. When connecting the power adapter, make sure it’s securely plugged into both the outlet and the TV box.
Check for Indicator Lights
Once powered up, look for any indicator lights on the TV box. A light usually signifies that the device is receiving power. If there are no lights, check the connections for any loose cables or issues. The presence of an indicator light typically means the box is functioning correctly, while a lack of lights might indicate a problem with the power source.
At this stage, make sure that no other household appliances are obstructing the box. Sometimes, other devices can interfere with the remote’s signals or cut off power supply.
Step 3: Turn on Your TV
With the TV box connected and powered up, it’s time to turn on your television. This step is critical for ensuring you can view the setup process.
Select the Correct HDMI Input
Use your TV remote to turn on the television. After it powers on, you need to select the HDMI input where you connected your TV box. This step varies by TV brand, but you can usually find the input options by pressing a button labeled “Input,” “Source,” or something similar on your TV remote. Some newer TVs have smart features that automatically detect devices.
Confirm Connection
After selecting the correct HDMI input, you should see the welcome screen or setup instructions from your TV box. If you don’t see anything, double-check the connections and ensure the TV box is powered on. If the screen remains blank, try switching to another HDMI port to troubleshoot potential issues.
Once you can see the setup screen, you have successfully connected your TV box to your television. This confirmation means you’re ready to move forward with the internet connection setup.
Step 4: Connect to the Internet
A stable internet connection is vital for streaming content. Follow these simple steps to connect your TV box to the internet.
Choose Your Connection Type
Most TV boxes offer two options: Wi-Fi and Ethernet. Choose the one that best suits your setup. If you have a Wi-Fi network and prefer a wireless connection, select Wi-Fi. Long Ethernet cables can offer a more stable connection.
If you decide to use an Ethernet cable, plug it into the Ethernet port on the TV box before proceeding with the setup. Using an Ethernet connection can minimize buffering and improve streaming quality.
Enter Wi-Fi Credentials
If you’re opting for Wi-Fi, your TV box will display a list of available networks. Choose your Wi-Fi network and enter the password when prompted. Double-check for accuracy, as passwords are case-sensitive. If you have connectivity issues, ensure your router is functioning correctly.
Confirm Connection
Wait while the TV box connects to the internet. Once connected, you may see a confirmation message. If there are any issues, double-check the password or move closer to the router for a stronger signal. If the connection is still unsuccessful, consider restarting your router and attempting again.
Step 5: Set Up Your TV Box
Now that your TV box is connected to the internet, it’s time to complete the setup process. This is where the box will start to become personalized for your viewing pleasure.
Follow On-Screen Instructions
Most TV boxes provide on-screen prompts that guide you through the setup process. This often includes agreeing to terms and conditions, signing into your account, or creating a new one if you are a first-time user. Be sure to read through the options available and select what suits you best.
Update Software
After the initial setup, the TV box may prompt you to check for software updates. Keeping your device up to date is essential to access the latest features and security improvements. Follow the instructions to download and install any available updates. This ensures your device runs smoothly and securely.
Customize Settings
Once updates are completed, review the settings to customize your viewing experience. You might want to adjust preferences like language, closed captions, and parental controls. Take your time to explore the settings menu; personalizing these options can enhance your enjoyment.
Check the audio settings, too, particularly if you have a home theater system or sound bar. Tailoring audio settings can elevate your overall viewing experience.
Step 6: Download Apps and Access Content
With the setup complete, you can now start downloading apps and accessing content. This stage is where you can personalize your TV box to match your viewing habits.
Open the App Store
Locating the app store is generally straightforward. Most TV boxes will have an icon for the app store on the home screen or within the main menu. Click on it to open and begin your exploration of available applications.
Search for Streaming Services
Use the app store functionality to search for popular streaming services, such as Netflix, Hulu, Amazon Prime Video, or Disney+. You may also want to look for additional channels or apps that match your interests, such as news, sports, or gaming applications. Each streaming service may require its own subscription, so take your time to evaluate what you’re willing to add.
Download Your Selected Apps
After finding your desired apps, click on each app icon and select the option to download or install. The installation will typically occur quickly if you have a robust internet connection. Once installed, these apps will be accessible from the home screen.
Log Into Your Accounts
For subscription services, you’ll need to sign in with your account credentials. Make sure to enter your username and password correctly. If you encounter any issues, consider resetting your passwords through the service’s website. Take a moment to explore the features of each app after signing in. Most platforms offer tutorials that can help you make the most of their services.
Step 7: Enjoy Your New Entertainment Setup
Now that everything is set up, it’s time to enjoy your TV box and the vast array of content available. You’ve put in the effort, and now it’s time to relax and take advantage of your new entertainment options.
Explore Your Content Options
Take some time to explore the different apps and services you’ve installed. Many platforms offer guided tours or introductory videos that can help you understand how to navigate menus and find content easily. Consider browsing through top charts or recommendations to get started with popular shows and movies.
Create Playlists and Watchlists
Once you’ve explored the available options, consider creating custom playlists or watchlists. Most streaming services allow you to save your favorite shows and movies for easy access later. Utilizing these features can save you time while navigating services when you’re ready to watch something specific.
Regular Maintenance
Occasionally check for software updates to ensure optimal performance. Clearing cache and data if you experience sluggishness or errors while streaming is also recommended. Regularly removing unwanted apps can help your TV box run smoothly.
Keeping an organized interface will make it easier to find the content you love and improve your overall experience. With everything set up, you’re now ready to dive into the world of streaming entertainment.
Conclusion
Setting up your TV box may seem daunting at first, but it is straightforward once you understand the necessary steps. By following this step-by-step guide, you can transform your television into a smart entertainment hub, unlocking access to countless streaming services and apps.
Final Thoughts
Now is the perfect time to explore the world of streaming content from the convenience of your home. With a few simple steps, you can expand your entertainment options and enjoy movies, shows, and even games right on your TV. Don’t hesitate to experiment with the features and settings available; every TV box offers unique capabilities that can enhance your viewing experience. Enjoy your new setup, happy streaming, and discover all that your TV box has to offer!
