Headphones are an essential accessory for music lovers, professionals, and casual listeners alike. Over time, however, headphone pads can wear out, leading to discomfort and reduced sound quality. Changing these pads is a straightforward process that can significantly enhance your audio experience. This guide will walk you through the steps of replacing your headphone pads, the tools you’ll need, and tips for choosing the right pads.
Understanding the Importance of Headphone Pads
Why Headphone Pads Matter
Headphone pads play a critical role in your listening experience. They provide cushioning for comfort, ensuring that you can wear your headphones for extended periods without pain. Additionally, they help seal the auditory canal, allowing for better sound isolation. Well-maintained pads keep music entry consistent and free from outside noise, enhancing the audio quality.
Over time, the material of headphone pads can degrade due to wear and tear, sweat, and environmental factors. As they deteriorate, they can become less comfortable and fail to provide proper sound isolation. Users may experience discomfort or a noticeable decline in audio performance. This decline serves as a strong indication that it’s time to replace the pads.
Signs That It’s Time to Replace Pads
Recognizing when to replace your headphone pads is crucial. A few signs include visible cracks, peeling materials, or uneven wear. If the pads feel flat or no longer provide adequate cushioning, it’s also a clear indicator of wear. Additionally, if you notice sound leakage or an increase in outside noise entering your headphones, it may be time to change the pads.
Another sign to look out for is odor. As pads absorb sweat and oils from your skin, they may develop an unpleasant smell. If regular cleaning of the pads fails to eliminate this odor, replacement is the best solution. By addressing these signs early, you can maintain both comfort and sound quality.

Gathering Your Tools and Materials
Tools Needed
Before starting the pad replacement process, gather the necessary tools. Most replacements require just a few items:
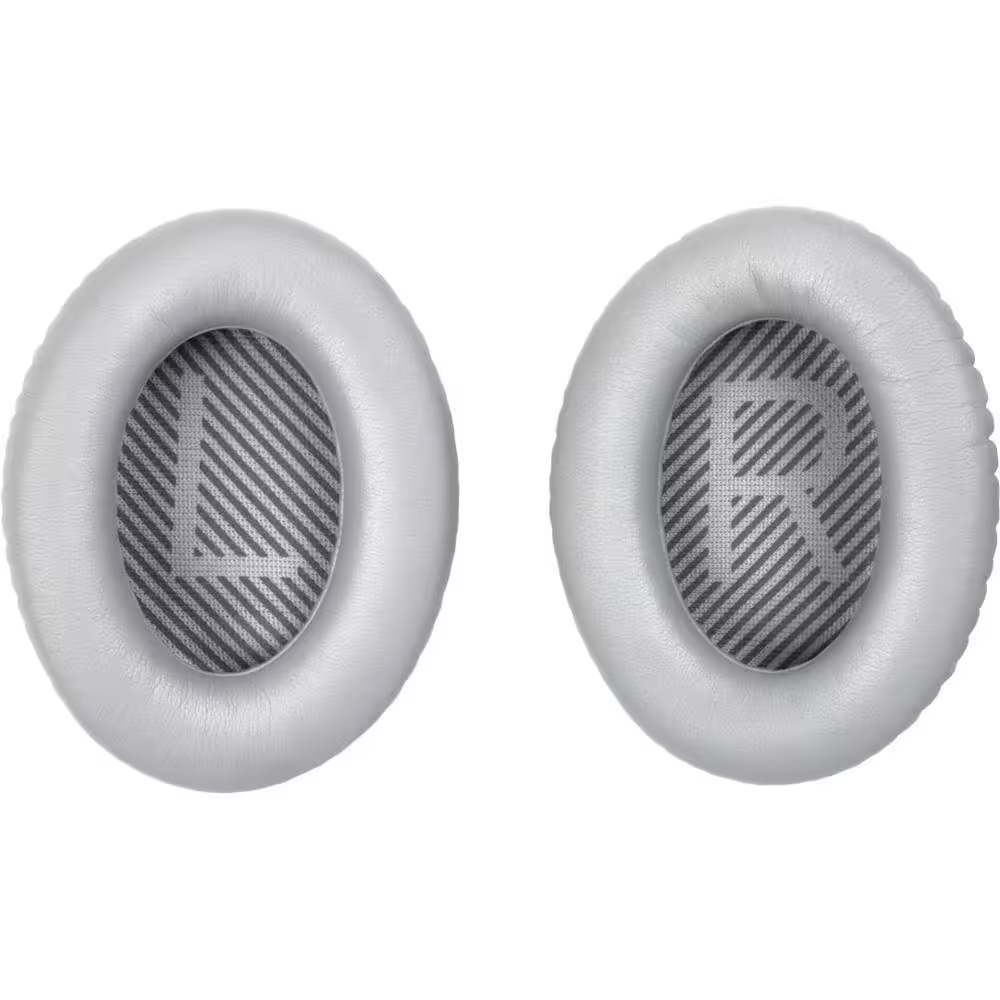
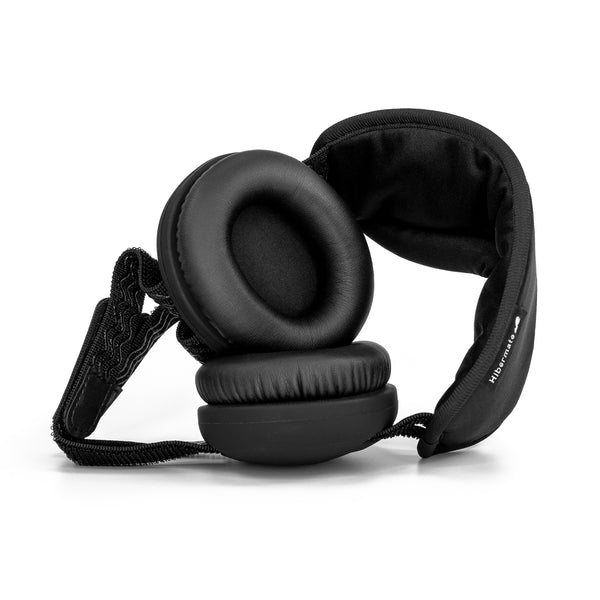
- New Headphone Pads: Ensure you choose pads that are compatible with your headphone model. Research the appropriate size and fit before purchasing.
- A Soft Cloth: This will help clean any debris or residue from the headphone before you attach the new pads.
- Scissors or a Sharp Knife: If your existing pads have a retaining ring, scissors may be necessary to remove them.
- Tweezers (optional): Tweezers can assist in removing stubborn pieces or adjusting the new pads during installation.
Selecting Replacement Headphone Pads
When choosing new headphone pads, consider the material, thickness, and design. Common materials include foam, leather, and velour.
- Foam Pads: These are generally softer but may wear out more quickly. They provide great comfort and sound isolation.
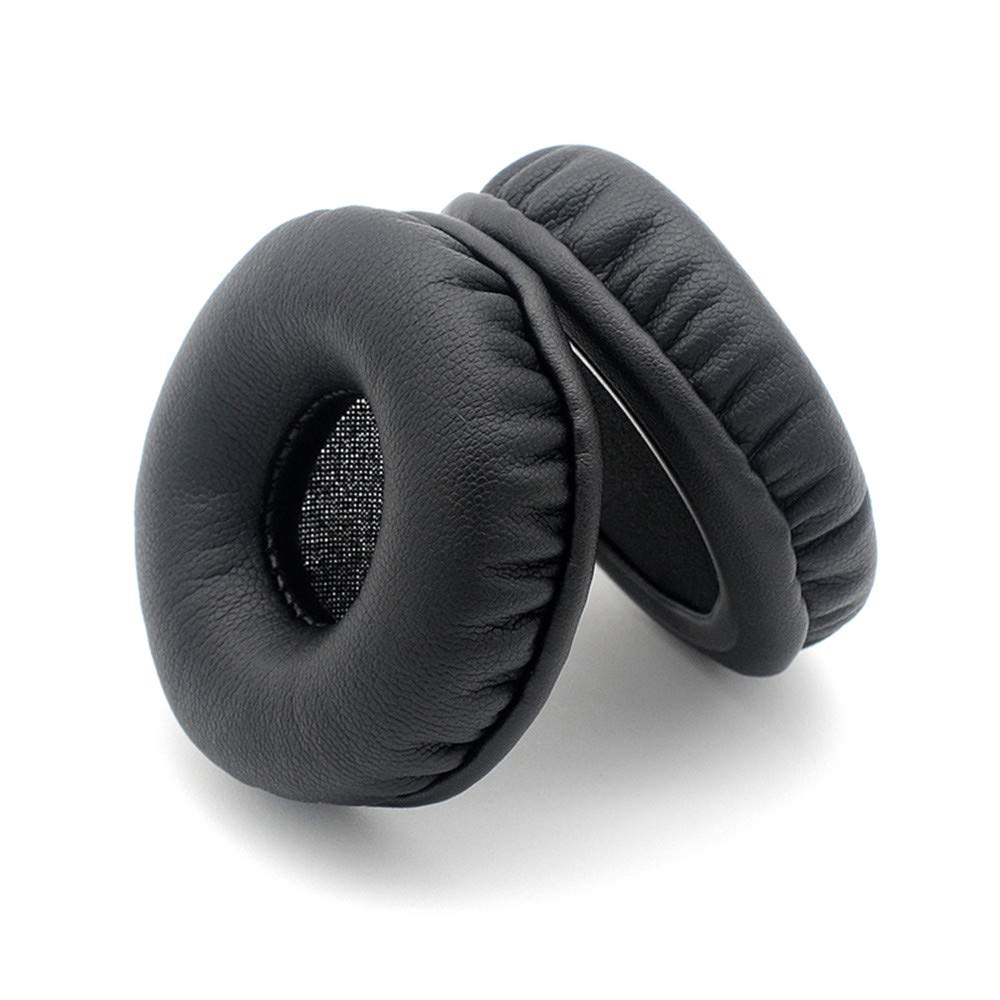
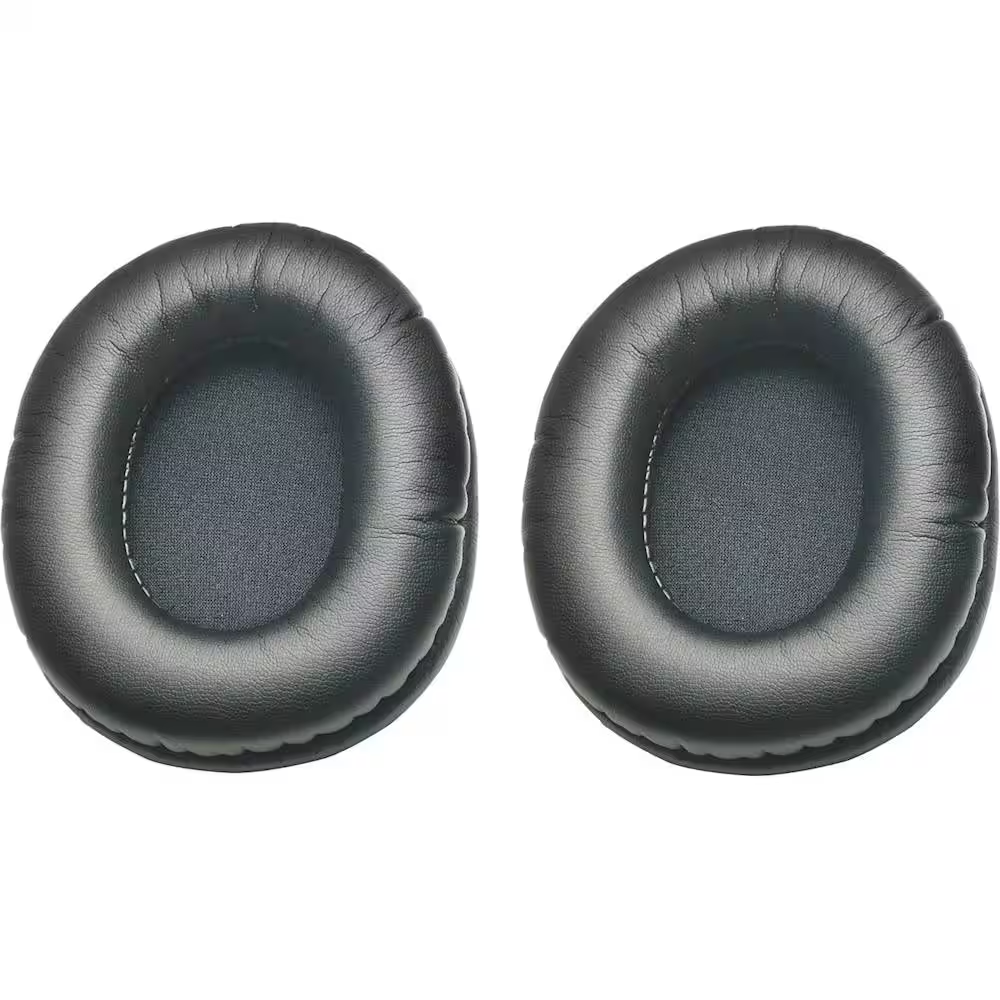
- Leather Pads: They offer a more premium feel but may not be as breathable. They also provide excellent sound isolation but can get warmer during long listening sessions.
- Velour Pads: These are breathable and comfortable, making them suitable for long periods of use. However, they may not isolate sound as well as leather.
Choosing the right material depends largely on personal preference and intended use. For example, if you plan on using headphones for hours daily, invest in high-quality materials that provide comfort and durability.
Preparing Your Headphones
Cleaning Your Headphones
Before replacing the pads, take a moment to clean your headphones. Use the soft cloth to wipe down the exterior and any visible areas that may have dust, sweat, or debris. This step not only ensures that your new pads adhere properly but also enhances the overall appearance of your headphones.
Be gentle around the drivers and any electronic components. Avoid using any cleaning agents that could damage the finish or materials. For stubborn grime, slightly dampen the cloth but avoid excessive moisture that could affect the electronic parts.
Removing Old Headphone Pads
Carefully inspect how your old pads are attached. Some headphones have pads that are glued, while others use clips or screws. If you note screws, use the appropriate screwdriver to release them. If the pads are glued, gently pry them off to avoid damaging the underlying structure. Using a sharp knife or scissors can help cut away any adhesive residue.
If your headphones have a plastic or metal retaining ring, carefully detach it before removing the pads. This process may require gentle twisting or sliding. Take your time to avoid damage; being patient during this step will ensure a smooth replacement process.

Installing New Headphone Pads
Aligning the New Pads
Once the old pads are removed, it is time to install the new ones. Start by aligning the new pads with the headphone’s compartment. Ensure they fit snugly against the edge to maintain proper sound isolation and comfort. If the pads have a specific orientation, check for markings or instructions indicating how to install them properly.
For pads with adhesive backing, peel off the protective film and press firmly onto the headphone structure. Ensure the adhesive makes good contact all around the seal. Lightly pressing down on the edges of the pads can help secure them. If using a retaining ring, place it back in position over the new pads to hold them securely.
Ensuring a Tight Fit
After installation, double-check the fit of the new pads. They should feel secure and snug, without any gaps that can allow sound leakage. Gently tug at the edges to ensure they are not loose. Pay attention to any areas that feel uneven, as this may indicate improper installation.
If your pads don’t feel comfortable or secure, you may need to adjust them. This may involve repositioning or ensuring that the adhesive sets correctly. Proper installation is critical for maintaining comfort during extended use and ensuring optimal sound quality.
Testing Your Headphones
Checking Comfort and Fit
Once you have installed the new pads, it’s important to test the comfort and fit. Put on the headphones and listen to your favorite tracks for a few minutes. Pay close attention to how they feel—there should be no pressure points or discomfort. The new pads should cushion your ears without excessive squeezing.
Additionally, ensure they create a good seal around your ears. This seal is vital for sound isolation and overall audio quality. If you experience discomfort with extended use, inspect the fit again or consider trying different pads.
Assessing Sound Quality
After confirming the comfort level, take some time to evaluate sound quality. Listen to music that you are familiar with, noting any differences in clarity, bass response, and overall audio fidelity. Well-fitted and high-quality pads can significantly enhance sound quality, allowing music to come through as intended.
Pay attention to how the bass feels. It should be tight and well-defined. Sound isolation should also be improved, with less external noise bleeding into your listening experience. If the sound does not meet your expectations, check pad placement and fit and consider experimenting with different pad materials for a better audio experience.

Maintaining Your New Headphone Pads
Regular Cleaning and Care
Once you have replaced your headphone pads, it is crucial to maintain them properly. Regular cleaning will prolong their lifespan and keep them looking fresh. Use a soft, dry cloth to wipe down the pads after every use, particularly if you wear them during workouts or in hot conditions where sweat might accumulate.
If the pads are removable, consider washing them according to the manufacturer’s instructions. Most materials can be gently cleaned with a damp cloth. Remember not to saturate them, as excessive moisture can lead to mold or damage. Proper maintenance can help sustain both comfort and sound quality.
Periodic Replacements
Just as with your old pads, the new ones will eventually wear out. Depending on usage, consider setting a reminder to check the condition of the pads every few months. Signs of wear should prompt you to initiate the replacement process again. By staying proactive, you ensure that your headphone experience remains enjoyable.
Manufacturers often provide guidance on how often to replace pads based on usage. Following their recommendations can help extend the life of your headphones and ensure a consistent auditory experience. Being attentive to the condition of your headphone pads will also reflect your commitment to quality sound.
Enjoying Enhanced Audio Experience
In conclusion, replacing headphone pads is a straightforward process that can dramatically improve comfort and audio quality. By understanding the importance of pads, recognizing signs of wear, and selecting appropriate replacements, you can maintain a superior listening experience.
Gathering the right tools and taking care during installation ensures a successful replacement process. Testing for comfort and sound quality after installation is critical in confirming that you’ve achieved the desired outcome. Regular maintenance further guarantees that your listening experience remains at its best.
With a little effort, you can extend the life of your headphones and enjoy the quality audio experience they provide. Don’t hesitate to replace your headphone pads as needed, and appreciate the difference they can make in your daily listening routine. Proper care and timely adjustments ensure that your headphones remain a reliable source of enjoyment, enhancing your audio experience long into the future.
